Warp: 重新想像的終端機
Warp如何重新發明終端:區塊輸出、底部錨定輸入、原生AI整合和可分享工作流程。附程式碼範例。
「我們相信終端機是有史以來最強大的工具之一,但它也是最令人望而生畏的工具之一。」— Zach Lloyd,Warp 執行長
Warp 是一款現代終端機,它在 CLI 的原始力量與現代應用程式的易用性之間架起了橋樑。它證明了開發者工具不必為了創新而犧牲熟悉感。
為什麼 Warp 很重要
Warp 將最古老的開發者工具——終端機——重新構想為適合現代的樣貌,同時不放棄讓它強大的本質。
主要成就: - 區塊式架構,將命令視為一等物件 - AI 整合感覺原生,而非硬加上去的 - 現代編輯體驗(選取、復原、多游標) - 協作功能(Warp Drive、共享工作流程) - 以 Rust 建構,兼顧效能與功能完整性
核心要點
- 區塊式輸出將混亂轉化為物件 - 將每個命令與輸出視為獨立、可選取的單元,實現了連續文字流無法提供的複製、分享、導覽和 AI 上下文功能
- 底部固定輸入模仿聊天介面的熟悉感 - 固定輸入位置消除了尋找提示符號的認知負擔;使用者永遠知道該在哪裡輸入
- AI 整合必須是選擇性且透明的 - 顯示實際產生的命令、提供解釋模式,並讓每個 AI 建議都能用單一按鍵取消
- 加法式創新保留強大功能 - 添加現代便利功能而不移除既有能力;專家可以忽略新功能,而新手則能從中受益
- 開發者工具也可以是協作的 - 可分享的區塊和工作流程證明,即使是傳統上單獨使用的工具也能受益於社交功能
核心設計哲學
橋接難題
終端機面臨一個獨特的挑戰:它必須同時服務使用了數十年的專家和覺得它令人生畏的新手。Warp 的解決方案是加法式的——添加現代便利功能而不移除強大能力。
TRADITIONAL TERMINAL
┌─────────────────────────────────────────────────────────────┐
│ $ git status                                                │
│ On branch main                                              │
│ Your branch is up to date with 'origin/main'.              │
│                                                             │
│ Changes not staged for commit:                              │
│   (use "git add <file>..." to update what will be...)      │
│   modified: src/app.py                                      │
│                                                             │
│ $ _                                                         │
│                                                             │
│ (everything is undifferentiated text)                       │
└─────────────────────────────────────────────────────────────┘

WARP'S APPROACH
┌─────────────────────────────────────────────────────────────┐
│  ┌─ Block 1 ─────────────────────────────────────────────┐  │
│  │ $ git status                            [^] [Copy]    │  │
│  ├───────────────────────────────────────────────────────┤  │
│  │ On branch main                                        │  │
│  │ Your branch is up to date with 'origin/main'.        │  │
│  │                                                       │  │
│  │ Changes not staged for commit:                        │  │
│  │   modified: src/app.py                               │  │
│  └───────────────────────────────────────────────────────┘  │
│                                                             │
│  ┌─ Input ───────────────────────────────────────────────┐  │
│  │ Type a command...                        [AI] [Cmd+P] │  │
│  └───────────────────────────────────────────────────────┘  │
└─────────────────────────────────────────────────────────────┘

Key insight: Each command+output is a selectable, shareable block
模式庫
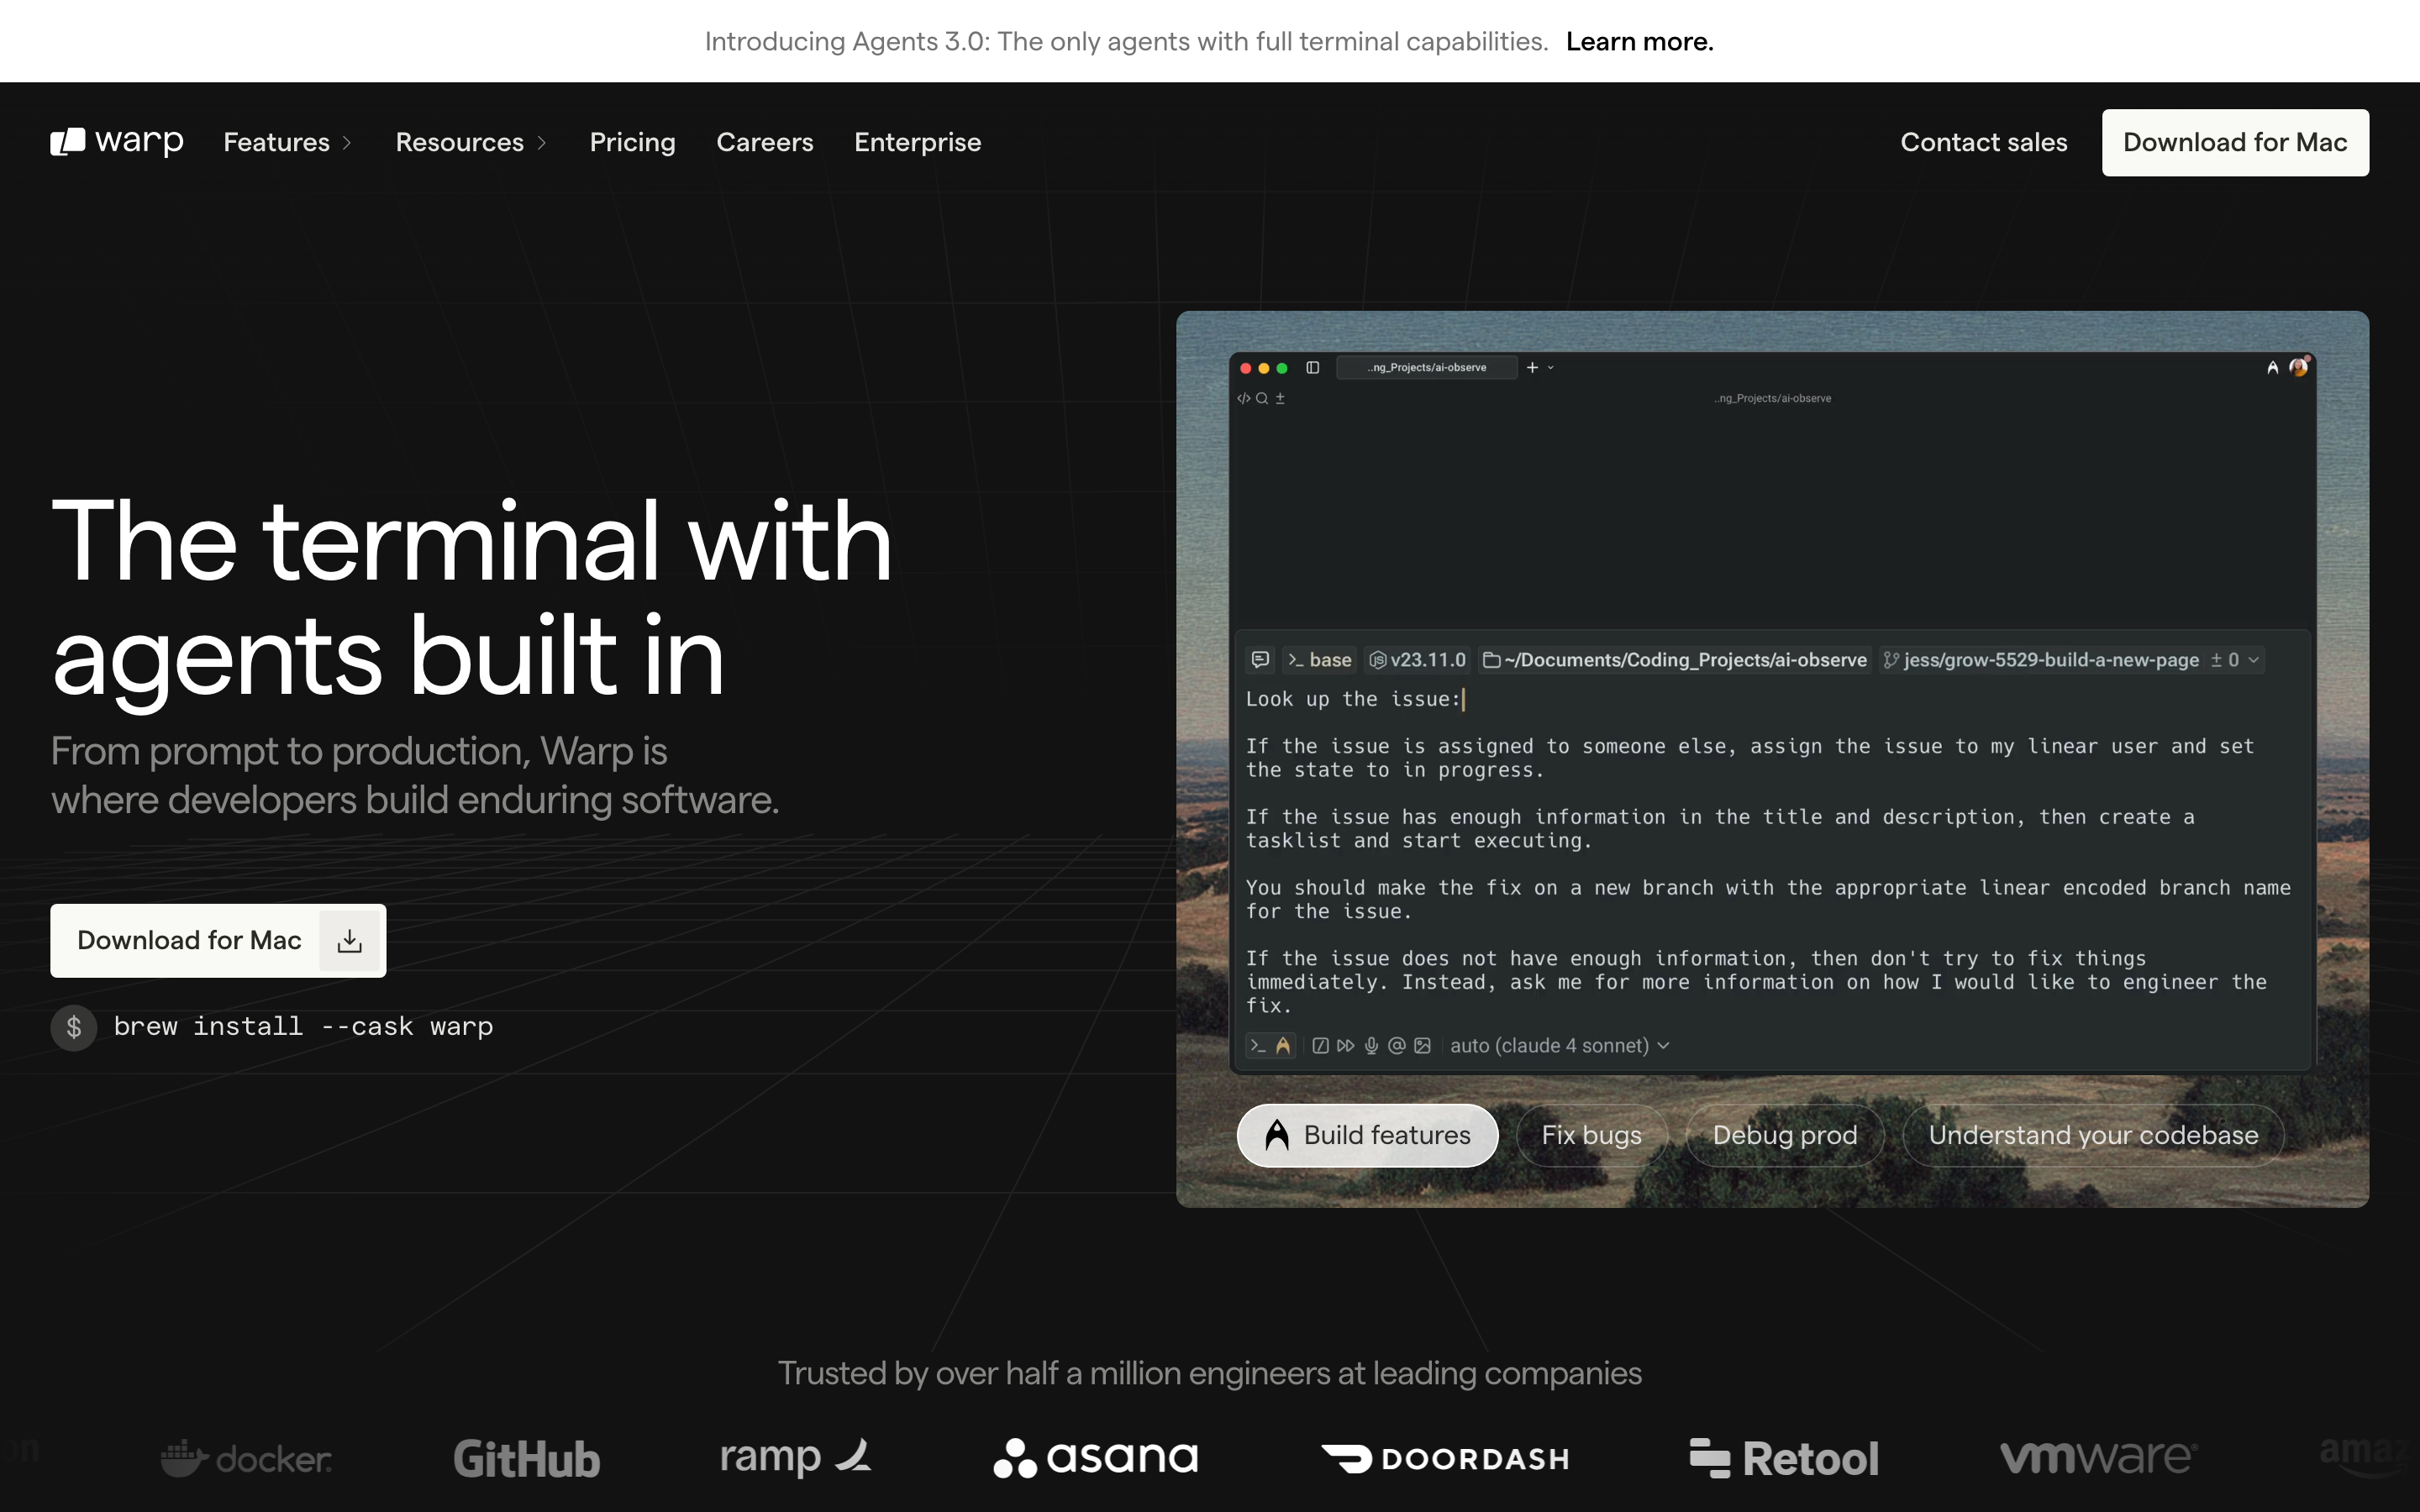
1. 區塊式輸出架構
Warp 最重要的創新是將每個命令及其輸出視為獨立的「區塊」,而非連續的文字。
區塊的強大之處:
| 功能 | 傳統終端機 | Warp 區塊 |
|---|---|---|
| 選取 | 僅限字元/行 | 整個輸出作為單元 |
| 複製 | 手動選取 | 一鍵複製 |
| 分享 | 截圖或貼上 | 區塊連結 |
| 導覽 | 捲動文字 | 在區塊間跳轉 |
| AI 上下文 | 無 | 區塊即上下文視窗 |
實作模式:
// Block data structure
const Block = {
  id: 'block-uuid',
  command: 'git status',
  timestamp: Date.now(),
  output: {
    text: '...',
    exitCode: 0,
    duration: 234, // ms
  },
  metadata: {
    cwd: '/Users/dev/project',
    env: { /* snapshot */ },
  }
};

// Block interactions
const BlockActions = {
  copy: (block) => copyToClipboard(block.output.text),
  share: (block) => generateShareableLink(block),
  rerun: (block) => executeCommand(block.command, block.metadata.cwd),
  edit: (block) => openCommandEditor(block.command),
};
視覺處理:
/* Block container styling */
.block {
  --block-bg: var(--surface-secondary);
  --block-border: 1px solid var(--border-subtle);
  --block-radius: 8px;

  background: var(--block-bg);
  border: var(--block-border);
  border-radius: var(--block-radius);
  margin-bottom: 12px;

  /* Hover reveals actions */
  &:hover .block-actions {
    opacity: 1;
  }
}

.block-command {
  font-family: var(--font-mono);
  font-size: 14px;
  padding: 8px 12px;
  border-bottom: 1px solid var(--border-subtle);
  display: flex;
  justify-content: space-between;
  align-items: center;
}

.block-output {
  padding: 12px;
  font-family: var(--font-mono);
  font-size: 13px;
  line-height: 1.5;
  white-space: pre-wrap;
}

.block-actions {
  opacity: 0;
  transition: opacity 150ms ease;
  display: flex;
  gap: 4px;
}
2. 底部固定輸入
與傳統終端機輸入與輸出內嵌顯示不同,Warp 將輸入區域固定在底部,類似於聊天應用程式。
為什麼這樣有效:
TRADITIONAL (Input follows output)
┌────────────────────────────────────────┐
│ output line 1                          │
│ output line 2                          │
│ output line 3                          │
│ $ _  ← Input moves as output grows     │
│                                        │
│                                        │
│                                        │
└────────────────────────────────────────┘

WARP (Fixed input position)
┌────────────────────────────────────────┐
│ output line 1                          │
│ output line 2                          │
│ output line 3                          │
│                                        │
├────────────────────────────────────────┤
│ $ _  ← Input always here (consistent)  │
└────────────────────────────────────────┘
心智模型的優勢: - 可預測:輸入永遠在同一個位置 - 熟悉感:模仿聊天介面(Messages、Slack) - 高效:不需要捲動來尋找提示符號 - 寬敞:支援多行輸入的完整編輯器
實作:
.terminal-layout {
  display: flex;
  flex-direction: column;
  height: 100vh;
}

.output-area {
  flex: 1;
  overflow-y: auto;
  padding: 16px;
}

.input-area {
  flex-shrink: 0;
  border-top: 1px solid var(--border-primary);
  padding: 12px 16px;
  background: var(--surface-primary);

  /* Modern text editor feel */
  min-height: 48px;
  max-height: 200px; /* Expandable for multi-line */
}
3. AI 整合模式
Warp 的 AI 功能展示了如何將 AI 整合到專業工具中,同時不讓它變成使用者的依賴。
三種 AI 輔助模式:
1. 自然語言輸入
┌────────────────────────────────────────────────────────────┐
│ "find all python files modified in the last week"         │
│                                                            │
│ ↓ AI 轉換為:                                              │
│                                                            │
│ find . -name "*.py" -mtime -7                             │
│                                                            │
│ [執行] [編輯] [說明]                                       │
└────────────────────────────────────────────────────────────┘

2. 主動式 AI(情境感知建議)
┌────────────────────────────────────────────────────────────┐
│ $ git push origin main                                     │
│ error: failed to push some refs                           │
│                                                            │
│ ┌─ AI 建議 ───────────────────────────────────────────┐   │
│ │ 💡 您的分支落後了。請嘗試:                         │   │
│ │    git pull --rebase origin main                    │   │
│ │                                        [套用] [×]   │   │
│ └─────────────────────────────────────────────────────┘   │
└────────────────────────────────────────────────────────────┘

3. 說明模式(教學)
┌────────────────────────────────────────────────────────────┐
│ $ tar -xzvf archive.tar.gz                                │
│                           [解釋此指令]                     │
│                                                            │
│ ┌─ 說明 ──────────────────────────────────────────────┐   │
│ │ tar:封存工具                                       │   │
│ │  -x:解壓檔案                                       │   │
│ │  -z:使用 gzip 解壓縮                               │   │
│ │  -v:詳細模式(顯示檔案)                           │   │
│ │  -f:指定檔案名稱                                   │   │
│ └─────────────────────────────────────────────────────┘   │
└────────────────────────────────────────────────────────────┘
關鍵設計決策:
- 主動選擇,而非被動關閉:AI 建議依據情境出現,但不會打斷工作流程
- 透明的轉換過程:當 AI 產生指令時,顯示實際的指令內容
- 教育性質:說明模式教導使用者,而非製造依賴
- 可輕鬆忽略:所有 AI 元素都能用單一按鍵關閉
4. 指令面板模式
Warp 實作了現代化的指令面板(Cmd+P),讓使用者無需記憶快捷鍵就能找到功能。
┌────────────────────────────────────────────────────────────────────┐
│  搜尋指令、設定、工作流程...                                       │
├────────────────────────────────────────────────────────────────────┤
│  最近使用                                                          │
│  ├─ 向右分割面板                                     Cmd+D         │
│  ├─ 切換 AI 建議                                 Cmd+Shift+A       │
│  └─ 開啟設定                                         Cmd+,         │
│                                                                    │
│  指令                                                              │
│  ├─ 新增分頁                                         Cmd+T         │
│  ├─ 關閉分頁                                         Cmd+W         │
│  ├─ 跳轉至區塊...                                    Cmd+G         │
│  └─ 分享區塊                                     Cmd+Shift+S       │
│                                                                    │
│  工作流程                                                          │
│  ├─ 部署至正式環境                                                 │
│  ├─ 執行測試套件                                                   │
│  └─ 更新相依套件                                                   │
└────────────────────────────────────────────────────────────────────┘
設計原則:
- 模糊搜尋:輸入「spl pan」可匹配「Split pane」
- 顯示快捷鍵:在搜尋過程中教導使用者
- 最近項目優先:根據使用模式個人化排序
- 分類整理:將相關指令分組
5. 工作流程:可分享的指令序列
Warp 的工作流程功能讓使用者能夠儲存和分享指令序列,架起腳本與書籤之間的橋樑。
# 範例工作流程:部署至正式環境
name: "Deploy to Production"
description: "Run tests, build, and deploy"
author: "@team"
steps:
  - command: "npm test"
    description: "Run test suite"
  - command: "npm run build"
    description: "Build for production"
  - command: "git push origin main"
    description: "Push to trigger deploy"
介面處理方式:
┌─ 工作流程:部署至正式環境 ───────────────────────────────────────┐
│                                                                  │
│  步驟 1/3                                                        │
│  ┌─────────────────────────────────────────────────────────────┐ │
│  │ $ npm test                                                  │ │
│  │                                                             │ │
│  │ 執行測試套件                                                │ │
│  └─────────────────────────────────────────────────────────────┘ │
│                                                                  │
│  [執行] [跳過] [取消工作流程]                     (*) ( ) ( )    │
└──────────────────────────────────────────────────────────────────┘
視覺設計系統
色彩系統
:root {
  /* 深色主題(預設)*/
  --bg-primary: #0D0D0D;
  --bg-secondary: #1A1A1A;
  --bg-tertiary: #262626;

  --text-primary: #FFFFFF;
  --text-secondary: #A3A3A3;
  --text-muted: #737373;

  --border-subtle: rgba(255, 255, 255, 0.08);
  --border-primary: rgba(255, 255, 255, 0.12);

  /* 語意色彩 */
  --color-success: #22C55E;
  --color-error: #EF4444;
  --color-warning: #F59E0B;
  --color-info: #3B82F6;

  /* AI 強調色 */
  --color-ai: #A855F7;  /* 紫色用於 AI 功能 */

  /* 選取與焦點 */
  --color-selection: rgba(59, 130, 246, 0.3);
  --color-focus: #3B82F6;
}
字型排版
:root {
  /* 等寬字型用於終端機輸出 */
  --font-mono: 'JetBrains Mono', 'Fira Code', 'SF Mono', monospace;

  /* 無襯線字型用於 UI 介面 */
  --font-sans: 'Inter', -apple-system, BlinkMacSystemFont, sans-serif;

  /* 字級 */
  --text-xs: 11px;
  --text-sm: 13px;
  --text-base: 14px;
  --text-lg: 16px;

  /* 針對程式碼最佳化的行高 */
  --line-height-tight: 1.3;
  --line-height-normal: 1.5;
  --line-height-relaxed: 1.7;
}

/* Terminal output */
.terminal-text {
  font-family: var(--font-mono);
  font-size: var(--text-base);
  line-height: var(--line-height-normal);
  font-variant-ligatures: contextual;
  font-feature-settings: 'calt' 1;  /* Enable ligatures */
}

/* UI elements */
.ui-text {
  font-family: var(--font-sans);
  font-size: var(--text-sm);
  font-weight: 500;
}
動畫模式
區塊出現效果
@keyframes block-enter {
  from {
    opacity: 0;
    transform: translateY(-4px);
  }
  to {
    opacity: 1;
    transform: translateY(0);
  }
}

.block {
  animation: block-enter 150ms ease-out;
}
AI 建議顯示效果
@keyframes suggestion-reveal {
  from {
    opacity: 0;
    transform: translateY(8px);
    max-height: 0;
  }
  to {
    opacity: 1;
    transform: translateY(0);
    max-height: 200px;
  }
}

.ai-suggestion {
  animation: suggestion-reveal 200ms ease-out;
}

.ai-suggestion.dismissing {
  animation: suggestion-reveal 150ms ease-in reverse;
}
載入狀態
/* Streaming output indicator */
.block.executing::after {
  content: '';
  display: inline-block;
  width: 8px;
  height: 16px;
  background: var(--color-focus);
  animation: cursor-blink 1s step-end infinite;
}

@keyframes cursor-blink {
  50% { opacity: 0; }
}

/* AI thinking indicator */
.ai-thinking {
  display: flex;
  gap: 4px;
}

.ai-thinking span {
  width: 6px;
  height: 6px;
  background: var(--color-ai);
  border-radius: 50%;
  animation: thinking-pulse 1.4s infinite ease-in-out both;
}

.ai-thinking span:nth-child(1) { animation-delay: 0s; }
.ai-thinking span:nth-child(2) { animation-delay: 0.16s; }
.ai-thinking span:nth-child(3) { animation-delay: 0.32s; }

@keyframes thinking-pulse {
  0%, 80%, 100% { transform: scale(0.6); opacity: 0.5; }
  40% { transform: scale(1); opacity: 1; }
}
對我們工作的啟示
1. 加法式創新
在不移除原有功能的前提下新增現代化特性。專家級使用者可以忽略新功能;新手則能從中受益。
2. 結構化混沌
區塊式架構將未經區分的文字轉化為可操作的物件。尋找機會為非結構化內容添加結構。
3. 持久性 UI 錨點
固定的輸入位置降低認知負擔。使用者無需四處尋找輸入位置。
4. AI 作為助手,而非替代品
顯示實際指令,而不僅僅是結果。解釋模式教導使用者學習,而非製造依賴。
5. 協作式命令列
可分享的區塊和工作流程證明,即使是傳統上單獨使用的工具也可以具備社交功能。
常見問題
什麼是 Warp 的區塊式架構?
Warp 不再將終端機輸出視為連續滾動的文字,而是將每個指令及其輸出結構化為獨立的「區塊」。每個區塊都是可選取、可複製、可分享的單元,附帶後設資料(時間戳記、結束代碼、執行時間)。這使得一鍵複製、連結分享、指令間跳轉以及為 AI 提供聚焦的上下文視窗成為可能。
為什麼 Warp 將輸入區放在底部而非行內?
傳統終端機將輸入游標與輸出放在同一行,意味著游標會隨著輸出增長而移動。Warp 將輸入區固定在底部(類似聊天應用程式),提供可預測的位置,消除尋找輸入位置的認知負擔。這也使得具備現代編輯功能的完整多行編輯器成為可能。
Warp 如何整合 AI 而不產生依賴性?
Warp 的 AI 以三種模式運作:自然語言轉換(顯示實際生成的指令)、情境建議(選擇性啟用且可關閉)以及解釋模式(說明指令的功能)。核心原則是透明度——AI 總是顯示其生成的內容,讓使用者學習而非依賴。
什麼是 Warp Workflows?
Workflows 是以 YAML 格式儲存的可分享指令序列。它們填補了一次性指令和完整腳本之間的空白,允許團隊分享常用流程(如部署步驟),並為每個步驟附上說明。Workflows 可透過指令面板發現並逐步執行。
為什麼 Warp 選擇 Rust 來實作?
Rust 提供記憶體安全性和效能,且無需垃圾回收暫停,這對於延遲敏感的終端機至關重要。它還使 Warp 能夠將區塊視為具有豐富後設資料的結構化資料,同時維持使用者對原生應用程式的響應性期望。